4. RGBW with Impression Series In-wall Retrofit


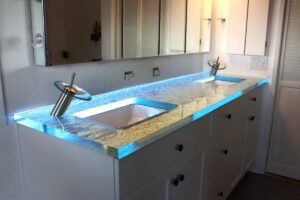
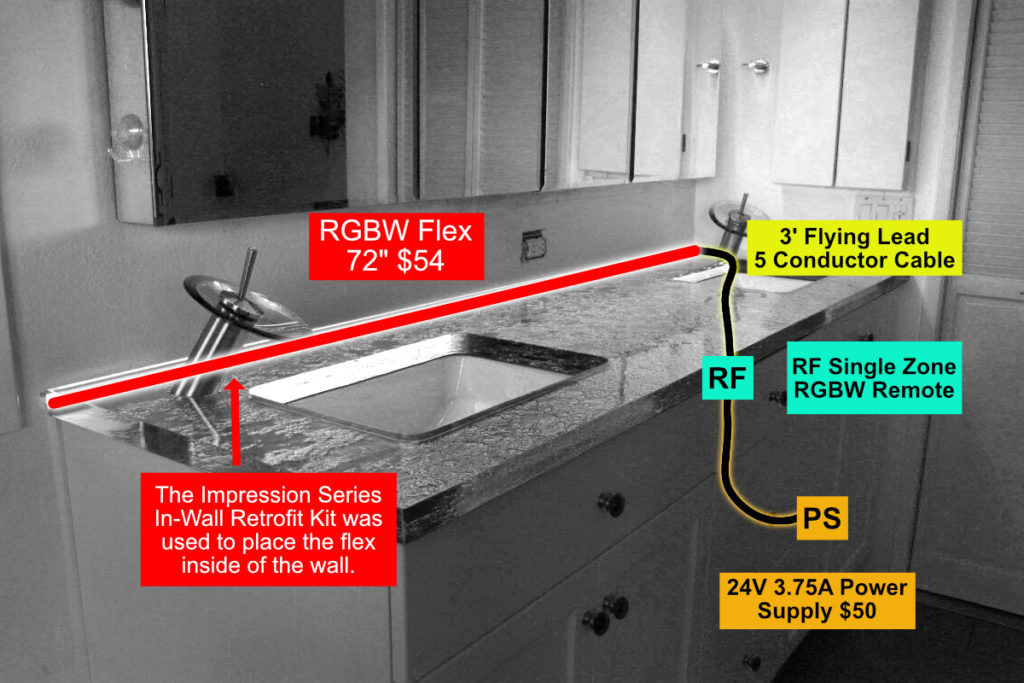
This is a 24VDC RGBW color changing system for a custom made glass countertop. We used our impressions series retrofit aluminum channel to recess the LED strip into the wall. To control the system we used an RF Single Zone RGBW controller, and a 5 conductor cable to connect the RGBW LED strip to the controller. RGB & RGBW systems are currently not available on our website, if you are interested in purchasing a system, give us a call at 480-941-4286 or email design@inspiredled.com.
Measuring the available space for the LED Strips:
This system has a large glass countertop for a bathroom vanity that the customer wanted to highlight with a color changing LED strip. We measured the LED strip to the same width as the countertop so the entire glass countertop would light up.
Providing Power:
To provide power to the system we had the customer install an outlet under the sink. This allowed us to hide all of our components and wiring under the sink hidden and out of the way. We used a 24v 3.75A Plug-In power supply to plug into the outlet, we then ran the lead to the input of the RGBW controller. All of our RGB & RGBW systems run off of a non-dimmable DC power supply.
Wiring the System:
Our RGB & RGBW systems come pre-soldered with a 5-conductor lead at any length you need. In this system, a 3’ lead was soldered to the end of the LED strip that ran back to the output of the RGBW controller. The cable colors on the 5-conductor cable will match to the corresponding output on the controller. Black Cable -> V+, Red Cable -> R, Green Cable -> G, Blue Cable -> B, White Cable -> W.
Test the System:
Time to test the system, at this point the lights should be on. We can now grab our Wireless RGBW remote to select certain colors from the color wheel. Make sure that the color you are choosing on the remote matches the color of the LED strip. If colors do not match, make sure the 5-conductor cable coming from the LED strip is terminated to the correct terminal.